
Introduction: The Delight of Homemade Preserves
The process of making homemade strawberry jam is not only a culinary endeavor but also a delightful journey that encapsulates the essence of joy and satisfaction in preserving the vibrant tastes of summer. There is a unique pleasure in crafting your own preserves, allowing you to control the quality of ingredients and tailor the flavors to your exact liking. This makes homemade strawberry jam not only a delicious addition to your breakfast table but also an expression of personal creativity in the kitchen.
One of the most compelling aspects of creating your own strawberry jam is the simplicity of the process. Even beginners can find it an accessible and rewarding experience. With just a few basic ingredients—fresh strawberries, sugar, and pectin—one can whip up a delightful batch in no time. The methods used to prepare jam are straightforward, often requiring minimal cooking skills while offering the opportunity to learn about food preservation techniques. As you step into the world of homemade jams, you will quickly realize that the barriers to entry are low, inviting enthusiasts of all levels to partake in this enjoyable activity.
Moreover, the flavors captured in homemade strawberry jam are unparalleled when compared to store-bought varieties. The rich, natural sweetness of fresh strawberries shines through, creating a burst of flavor that is incredibly satisfying. Utilizing seasonal produce enhances the taste, allowing you to relish the essence of ripe, succulent strawberries harvested at their peak. This not only elevates your culinary creations but also fosters a deeper connection to the food you consume. Each jar of homemade preserve serves as a reminder of the delightful summer days spent picking fresh strawberries and the warm evenings engaged in culinary experimentation. Indeed, there is a joy unique to homemade preserves, waiting to be discovered and shared with loved ones.
Ingredients You Will Need
To create a delicious homemade strawberry jam, it is essential to select the right ingredients that will yield a perfect balance between sweetness and tartness. The main component is, of course, fresh strawberries. Choose ripe, fragrant strawberries, as they are the backbone of the jam, providing the base flavor and natural sweetness. The quality of strawberries significantly affects the final product, so sourcing them from local farmers’ markets can enhance the taste.
Next, granulated sugar plays a crucial role in preserving the jam and enhancing its flavor. Sugar not only sweetens the jam but also helps in the gelling process by interacting with the pectin found in strawberries. The amount of sugar can be adjusted according to personal taste preferences, and alternative sweeteners can also be used for low-sugar variations.
Lemon juice is another indispensable ingredient that contributes acidity, which balances the sweetness from the sugar. This acidity helps to preserve the color and flavor of the jam, ensuring your homemade creation retains its vibrant quality over time. Additionally, lemon juice can also enhance the overall flavor profile, adding a refreshing tang that complements the strawberries.
For those looking to explore variations, optional ingredients may include pectin. Pectin is a natural thickening agent that can help achieve the desired jam consistency more readily. If you prefer a pectin-free option, ensure that your strawberries are particularly ripe, as they tend to contain more natural pectin. Other possibilities for adding flavor include vanilla extract, which can introduce an aromatic element, or spices like cinnamon for a unique twist.
With these core ingredients at hand, you are well on your way to making a delectable homemade strawberry jam. Understanding the role of each component will not only enhance your jam-making process but also ensure a delightful homemade preserve that you can cherish.
Step-by-Step Instructions for Preparation
Preparing fresh strawberries for jam-making is an essential step that greatly influences the quality of the final preserve. Begin by selecting ripe strawberries, as they will provide the best flavor and natural sweetness. Once you have your strawberries, proceed with the following steps to ensure a smooth preparation process.
First, thoroughly clean the strawberries. Rinse them under cool running water to remove any dirt or pesticide residue. Gently agitate the strawberries in the water and ensure that all surface areas are properly cleaned. Following this, place the strawberries on a clean kitchen towel or paper towels to dry. This step is critical, as excess moisture can alter the consistency of your jam.
Next, it is essential to hull the strawberries. Use a small, sharp knife or a specialized hulling tool to carefully remove the green leaves and the white core at the top of each berry. This process not only enhances the aesthetic appeal of your jam but also ensures an even flavor profile. Once hulled, consider slicing the strawberries into smaller pieces. This will facilitate even cooking and help release their juices, which is crucial for achieving the desired jam consistency.
After preparing the strawberries, it is time to measure out the remaining ingredients. For a classic strawberry jam recipe, you will typically need granulated sugar, pectin, and lemon juice. Measure the sugar according to the amount of fruit you have; usually, a ratio of 1:1 works effectively. For every four cups of crushed strawberries, include one cup of sugar. It is also advised to prepare your cooking equipment by sterilizing jars and lids, ensuring a safe preservation process. With all preparation completed, you will be ready to move on to the exciting phase of cooking your homemade strawberry jam.
Cooking the Jam: A Simple Recipe
To create a delightful homemade strawberry jam, the right ingredients and procedures are essential. Begin with approximately two pounds of ripe strawberries, which should yield a generous amount of jam. First, wash the strawberries thoroughly and remove their stems. Next, slice them into halves or quarters to release their natural juices, allowing for better flavor extraction during cooking.
Combine the prepared strawberries in a large saucepan with about four cups of granulated sugar. The sugar will not only sweeten the jam but also aid in the gel formation, which is crucial for a well-set jam. As you stir the mixture, allow it to sit for about 10 minutes, enabling the strawberries to macerate and create a sweet syrup. This step enhances the infusion of flavors.
Next, place the saucepan over medium heat and bring the mixture to a gentle boil while stirring frequently. Monitoring the heat is important to prevent the ingredients from scorching. As the jam cooks, it will start to thicken; using a candy thermometer can be advantageous to determine the ideal cooking temperature. Aim for a temperature of approximately 220°F (104°C), which is crucial for achieving the correct consistency for your jam.
Throughout the cooking process, continue to stir often to ensure even cooking and prevent any sticking. A frothy layer may form on top; feel free to skim this off if desired. After about 20-30 minutes of cooking, you can perform the “plate test” by placing a small amount of jam on a cold plate to check its consistency. If it’s firm enough to your liking, remove the saucepan from the heat.
As the last step, carefully transfer the hot jam into sterilized jars, sealing them while the mixture is still warm. This will help create a vacuum seal that preserves the freshness of your homemade strawberry jam. Enjoy the satisfaction of your joyful preserves!
Canning Process: How to Preserve Your Jam
The canning process is an essential step in ensuring that your homemade strawberry jam is preserved properly for long-term enjoyment. To begin, it is crucial to sterilize your jars and lids to eliminate any bacteria that could lead to spoilage. Start by washing your jars and lids in hot, soapy water, then rinse thoroughly. Place the jars and lids in a large pot of boiling water for 10 minutes. After boiling, remove them with clean tongs and set them on a sanitized towel to dry.
Next, prepare your strawberry jam according to your selected recipe. Once the jam is cooked and ready for canning, it is important to fill the sterilized jars while the jam is still hot. Use a ladle to fill each jar, leaving about a quarter-inch headspace at the top. This space is vital, as it allows for the expansion of the jam during the water-bath canning process.
After filling your jars, it’s important to remove any air bubbles. To do this, insert a clean knife or a bubble remover into the jar and gently stir around the edges. Finally, wipe the rims of the jars with a clean, damp cloth to ensure a proper seal. Place the sterilized lids onto the jars and screw on the bands until they are fingertip-tight.
Now it’s time for water-bath canning, which is an effective method to create a vacuum seal. Fill a large canner or pot with enough water to cover the jars by at least one inch. Bring the water to a rapid boil, then carefully lower the jars into the pot. Process the jars for 5 to 10 minutes, depending on your altitude and recipe specifics. After processing, remove the jars and place them upright on a clean towel to cool.
As the jars cool, you will hear the satisfying “pop” sound, indicating a proper seal has formed. Once cooled, check the seals by pressing down in the center of each lid; if it does not pop back, a good seal has been achieved. Store your sealed jars in a cool, dark place, and enjoy your homemade strawberry jam safely for many months.
Tips for the Perfect Texture and Flavor
Creating strawberry jam that captivates both the palate and the senses involves a careful balance of ingredients and techniques. To achieve the perfect texture and flavor, adjustment of sweetness is paramount. Strawberries can vary in sweetness from one season to another; therefore, it is advisable to taste the fruit during preparation. Start with a recommended amount of sugar and gradually increase it to your preference, keeping in mind that the sugar not only sweetens but also acts as a natural preservative.
Incorporating lemon juice is another vital step in the jam-making process. The acidity of lemon juice enhances the flavor of strawberries and provides a necessary balance to the sweetness. Generally, a tablespoon or two per batch can do wonders in brightening up your jam, making the flavor more pronounced without overpowering the berries’ natural taste. Additionally, the acidity helps in achieving a desirable setting point, facilitating the thickening process for a more satisfying texture.
When it comes to testing the readiness of your jam, several techniques can be employed. One common method is the plate test: place a small dollop of the jam on a chilled plate and return it to the freezer for a couple of minutes. If it wrinkles when pushed with a finger, it is ready for canning. Another option involves using a candy thermometer, which should read around 220°F to indicate that your jam has reached the perfect consistency.
Avoiding common pitfalls can significantly enhance your jam-making experience. To prevent crystallization, ensure that your jars are properly sterilized and filled while hot. Also, allow your jam to cool before sealing to prevent condensation inside the jar, which could affect texture. By following these tips, you can create a strawberry jam that is both delicious and enduring.
Variations: Low-Sugar and Pectin-Free Options
When it comes to making homemade strawberry jam, not everyone prefers the traditional sugary versions. For those looking to reduce sugar intake or avoid pectin altogether, there are several variations that offer delightful alternatives while still maintaining the fruit’s natural flavor and essence.
Low-sugar strawberry jam can be prepared using a variety of sweeteners, allowing for better control over sugar content without sacrificing taste. Natural sweeteners like honey or maple syrup can be used in place of granulated sugar. These alternatives not only provide sweetness but also introduce their unique flavors to the jam. When substituting, a general guideline is to use about half the volume of sweetener compared to sugar, adjusting according to personal taste preferences. Additionally, one can consider using special low-calorie sweeteners such as stevia or erythritol, which can further reduce caloric intake.
Pectin-free strawberry jam is another enticing option for those who prefer a more rustic jam texture or wish to avoid added pectin altogether, often found in commercial jamming products. For this method, increasing the natural fruitiness can be achieved by cooking the strawberries longer, which allows them to thicken as they break down. Incorporating a small amount of lemon juice not only enhances the flavor but also helps in naturally preserving the jam. To make a simple pectin-free jam, mash fresh strawberries and cook them gently with your chosen sweetener and lemon juice until reaching the desired consistency.
Both low-sugar and pectin-free options can be enjoyable variations of classic strawberry jam, providing diverse choices that cater to different dietary preferences. These adaptations ensure that everyone can relish in the joy of homemade preserves while aligning with their individual health goals.
Serving Suggestions: Enjoying Your Jam
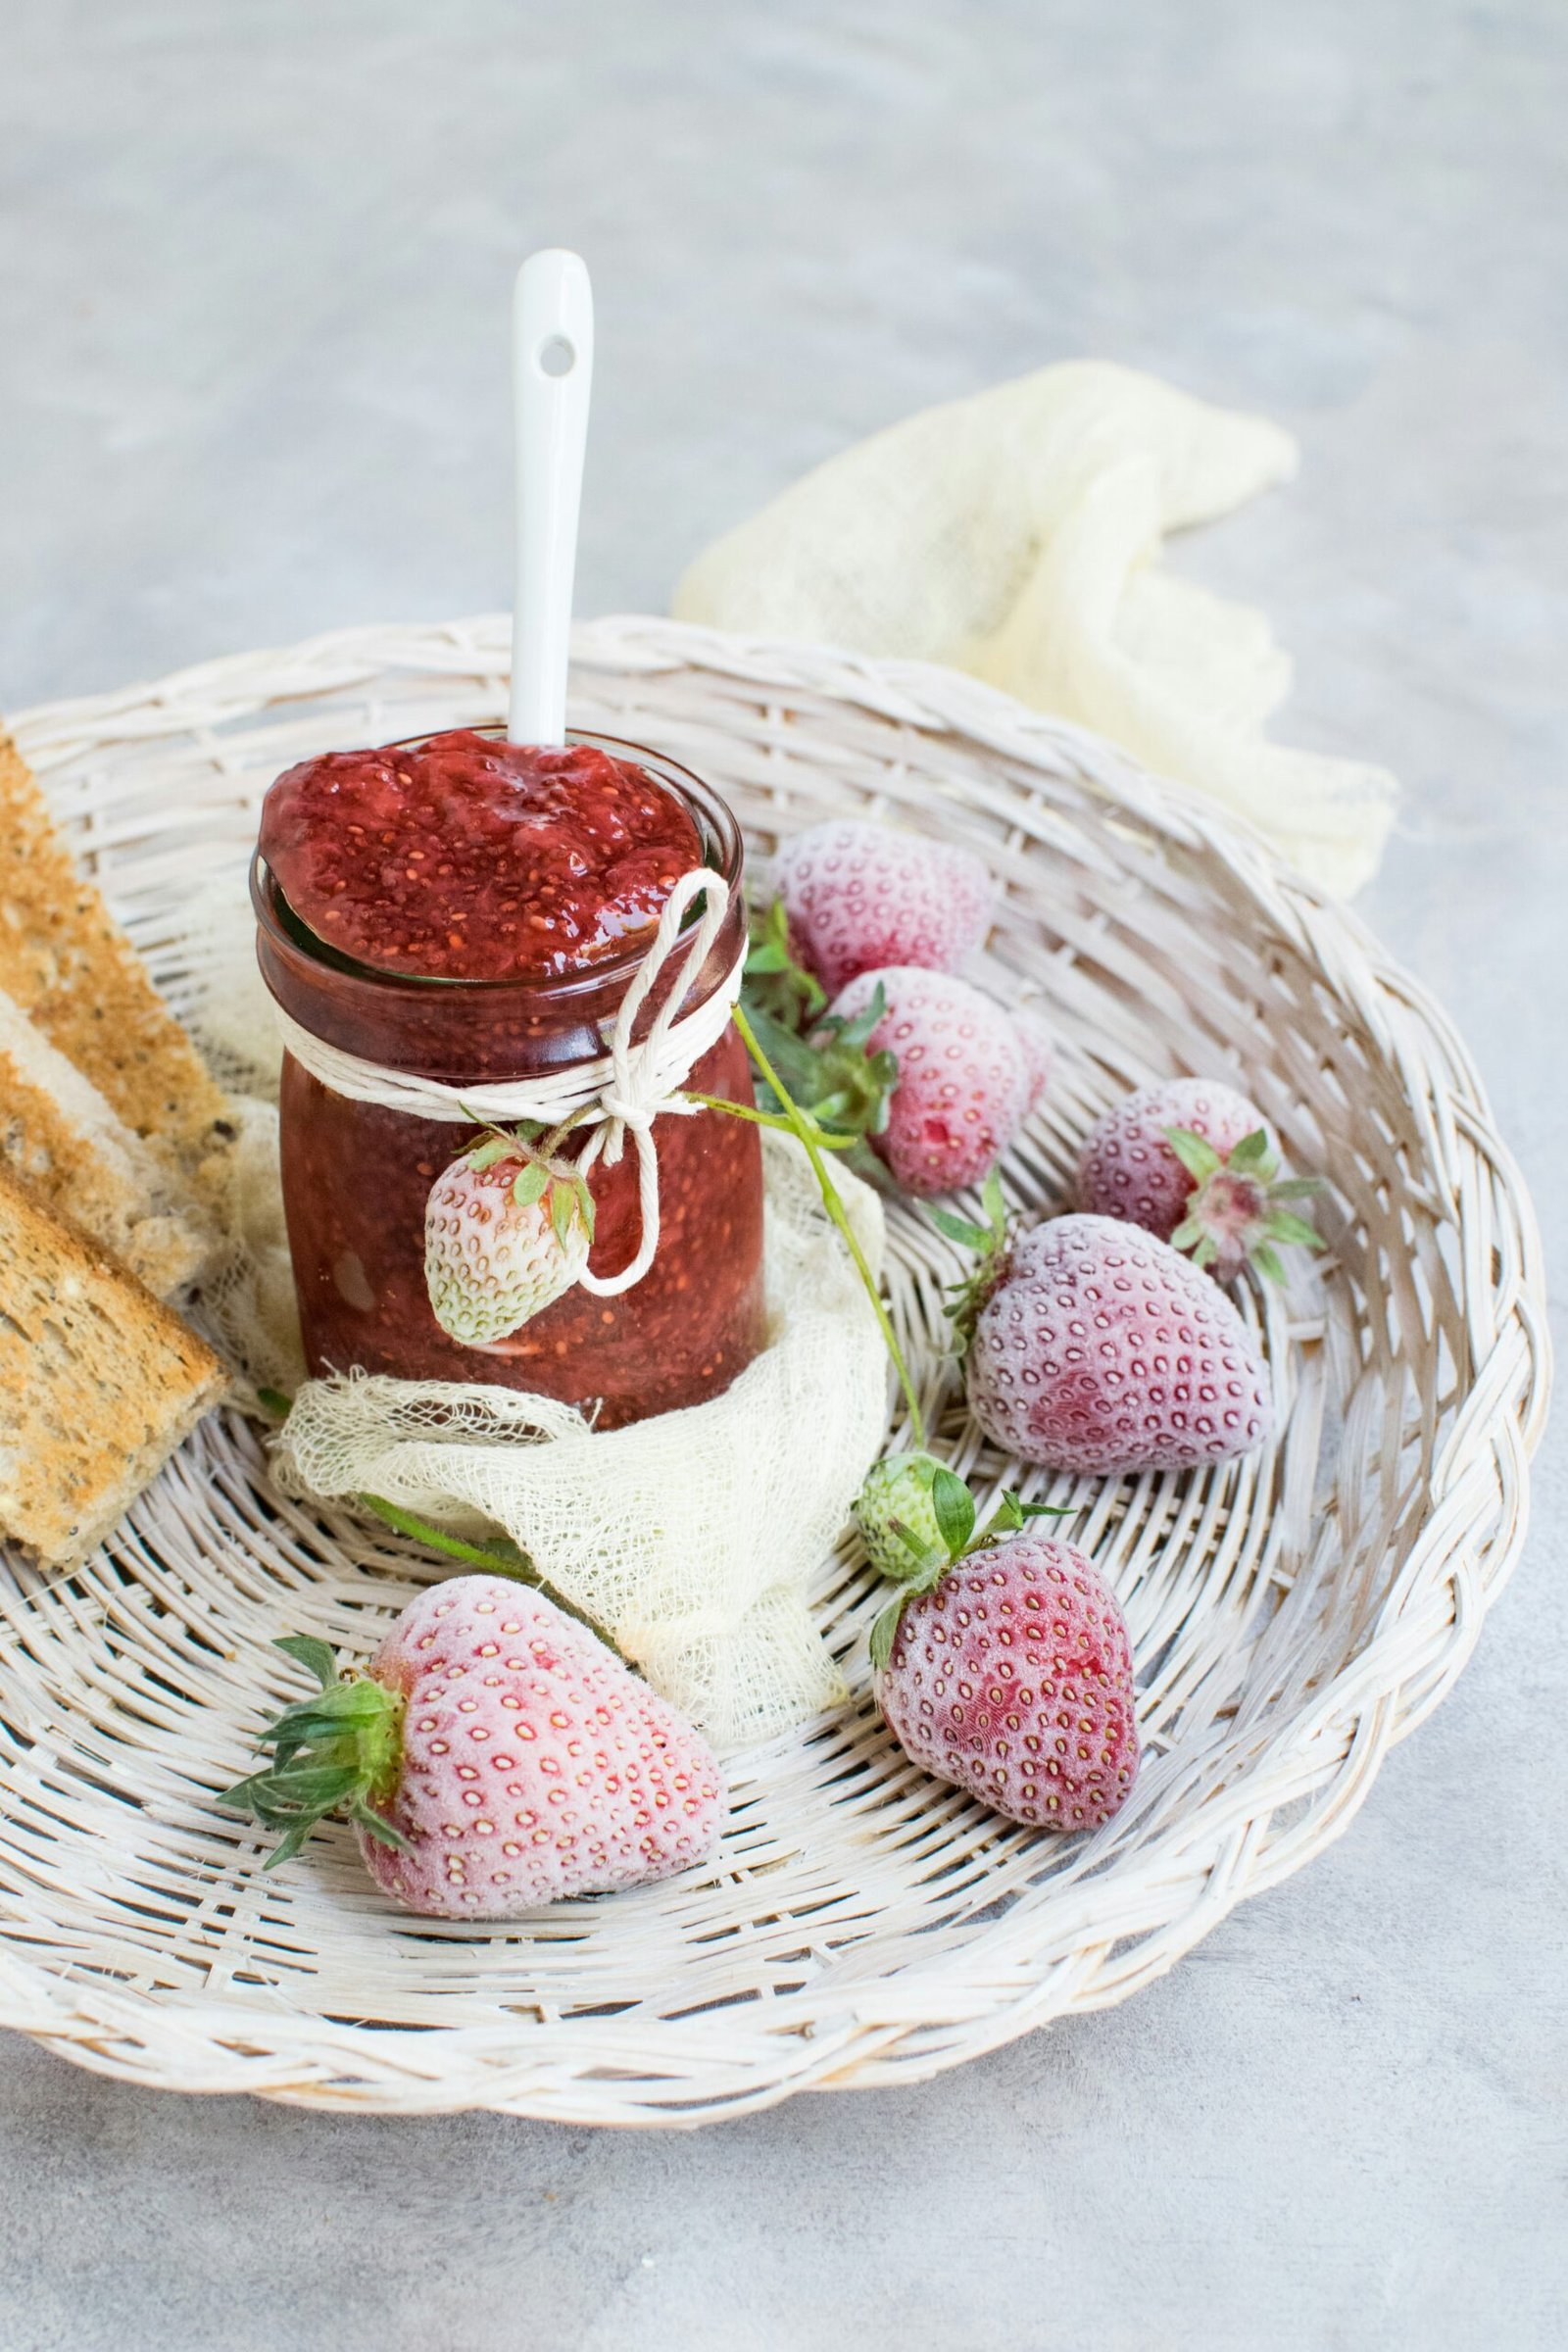
Homemade strawberry jam is a delightful treat that offers versatility in its usage, making it a cherished addition to many meals and occasions. One of the most popular ways to enjoy this sweet preserve is by spreading it generously on warm, toasted bread or freshly baked scones. The combination of the soft texture of the bread with the sweet burst of the jam creates a comforting breakfast or snack option. Adding a dollop of whipped cream or a slice of butter can elevate this simple dish to a gourmet experience.
In addition to breakfast, strawberry jam can play a starring role in various desserts. Consider using it as a filling in layered cakes or pastries, where its luscious flavor will perfectly complement whipped cream or cream cheese frosting. When integrated into layer cakes, the jam can add moisture and a fruity tang that balances the sweetness of the other elements. Furthermore, incorporating strawberry jam into layered parfaits with yogurt and granola presents a visually appealing and healthy dessert option.
Homemade strawberry jam also serves as a thoughtful gift for family and friends. Presenting jars of your carefully crafted preserves wrapped in decorative cloth, with handwritten labels, can evoke a sense of warmth and personal touch. This makes jam an excellent choice for holidays, housewarming events, or simply as a lovely surprise for someone special. Additionally, consider pairing the jam with complementary items, such as artisanal cheeses or biscuit mixes, to create a delightful gift basket that showcases the versatility of your preserves. By sharing your homemade strawberry jam, you can spread joy and appreciation for good food with loved ones.
Storage Methods for Homemade Jam
Proper storage of homemade strawberry jam is vital for maintaining its quality, flavor, and safety. After preparing your jam and canning it, the jars can be stored in a cool, dark place, such as a pantry or cupboard. Ensure that the jars are sealed properly and that there are no signs of damage, as this can impact the jam’s shelf life. Generally, unopened jars of homemade jam can last for up to a year when stored correctly. However, it is advisable to check the jars periodically for any signs of spoilage.
Once you have opened a jar of your homemade strawberry jam, it is crucial to refrigerate it immediately. The refrigeration helps slow down the growth of bacteria and mold, ensuring the jam remains safe to consume. An opened jar of jam can typically be stored in the refrigerator for about one to three weeks, depending on its composition and the extent of contamination from utensils used during serving. To maintain the best quality, always use clean utensils to scoop out the jam.
When it comes to recognizing spoilage, you should remain vigilant. Signs that your homemade jam may have gone bad include an off smell, change in color, or visible mold on the surface. If there are any abnormalities, it is advisable to discard the jam to prevent foodborne illnesses. Understanding the shelf life of your homemade jam and following proper storage methods can significantly enhance your experience, ensuring that each spoonful remains as delightful as intended. By adhering to these guidelines, you can enjoy your delicious, homemade strawberry jam for months to come.