Have you ever walked into your kitchen and been greeted by the intoxicating aroma of freshly baked bread? There’s something magical about creating your own loaves at home.
Panasonic bread bakery recipes offer a perfect way to achieve bakery-quality results with minimal effort. Whether you’re craving a classic white loaf or something more adventurous like a rosemary garlic bread infused with herbs, your bread machine can help you create it all. Let’s explore how these versatile appliances can transform your home baking experience.
Ingredients & Kitchen Tools
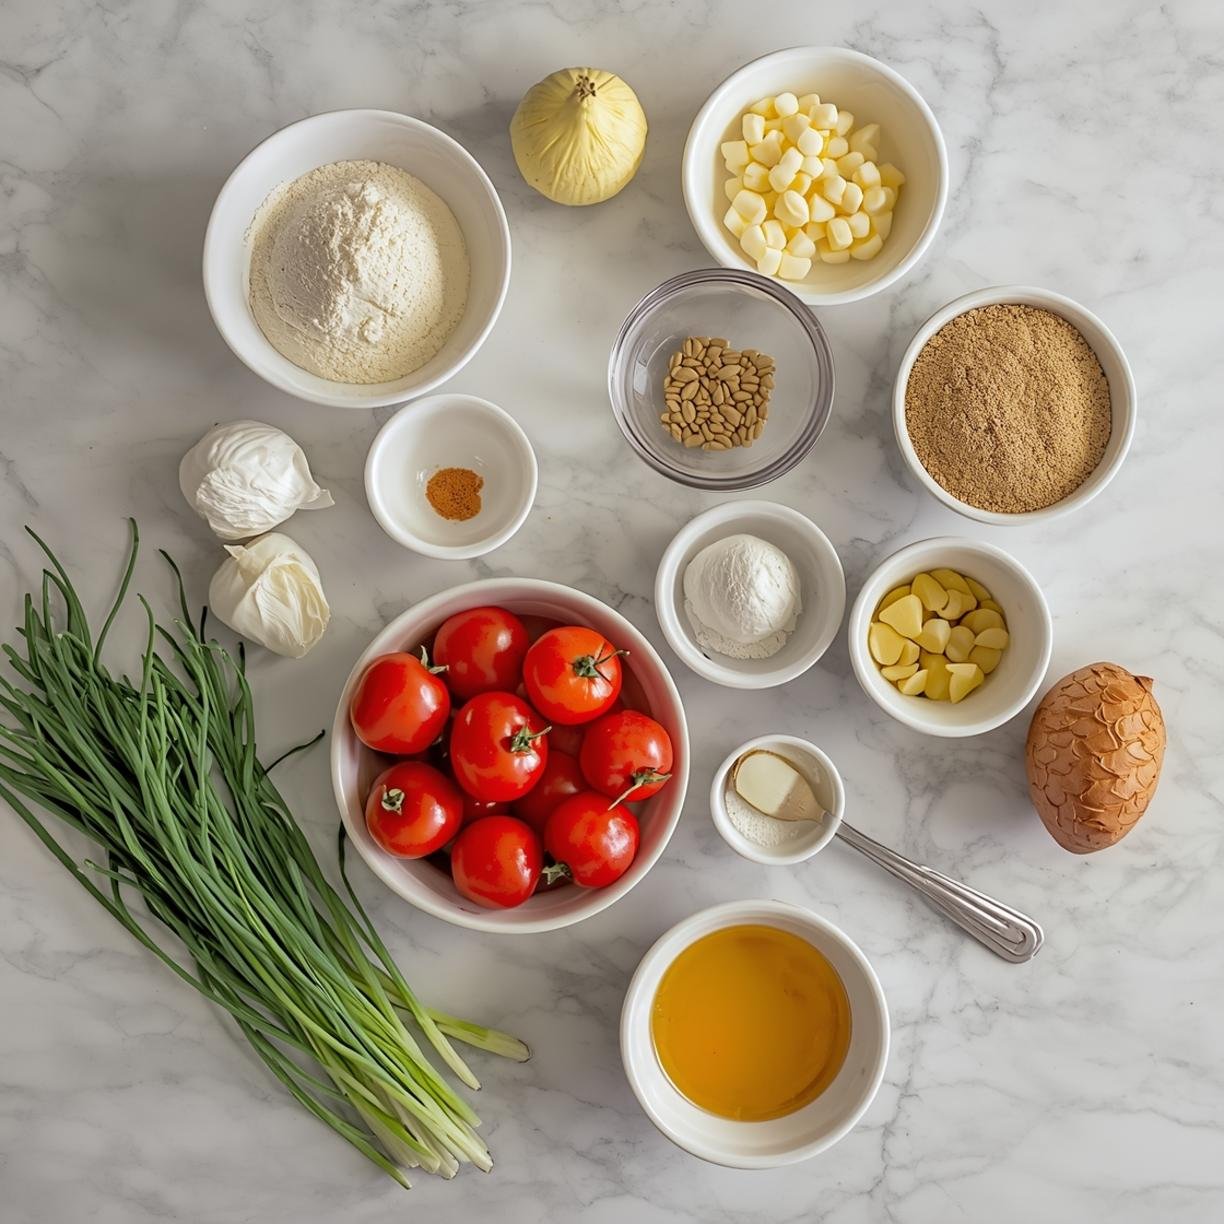
For Basic White Bread (1.5 lb loaf):
– 4 cups bread flour
– 2 tablespoons granulated sugar
– 1 teaspoon salt
– 2 tablespoons unsalted butter, softened
– 1¼ cups warm water (about 110°F)
– 2¼ teaspoons active dry yeast or 1 packet
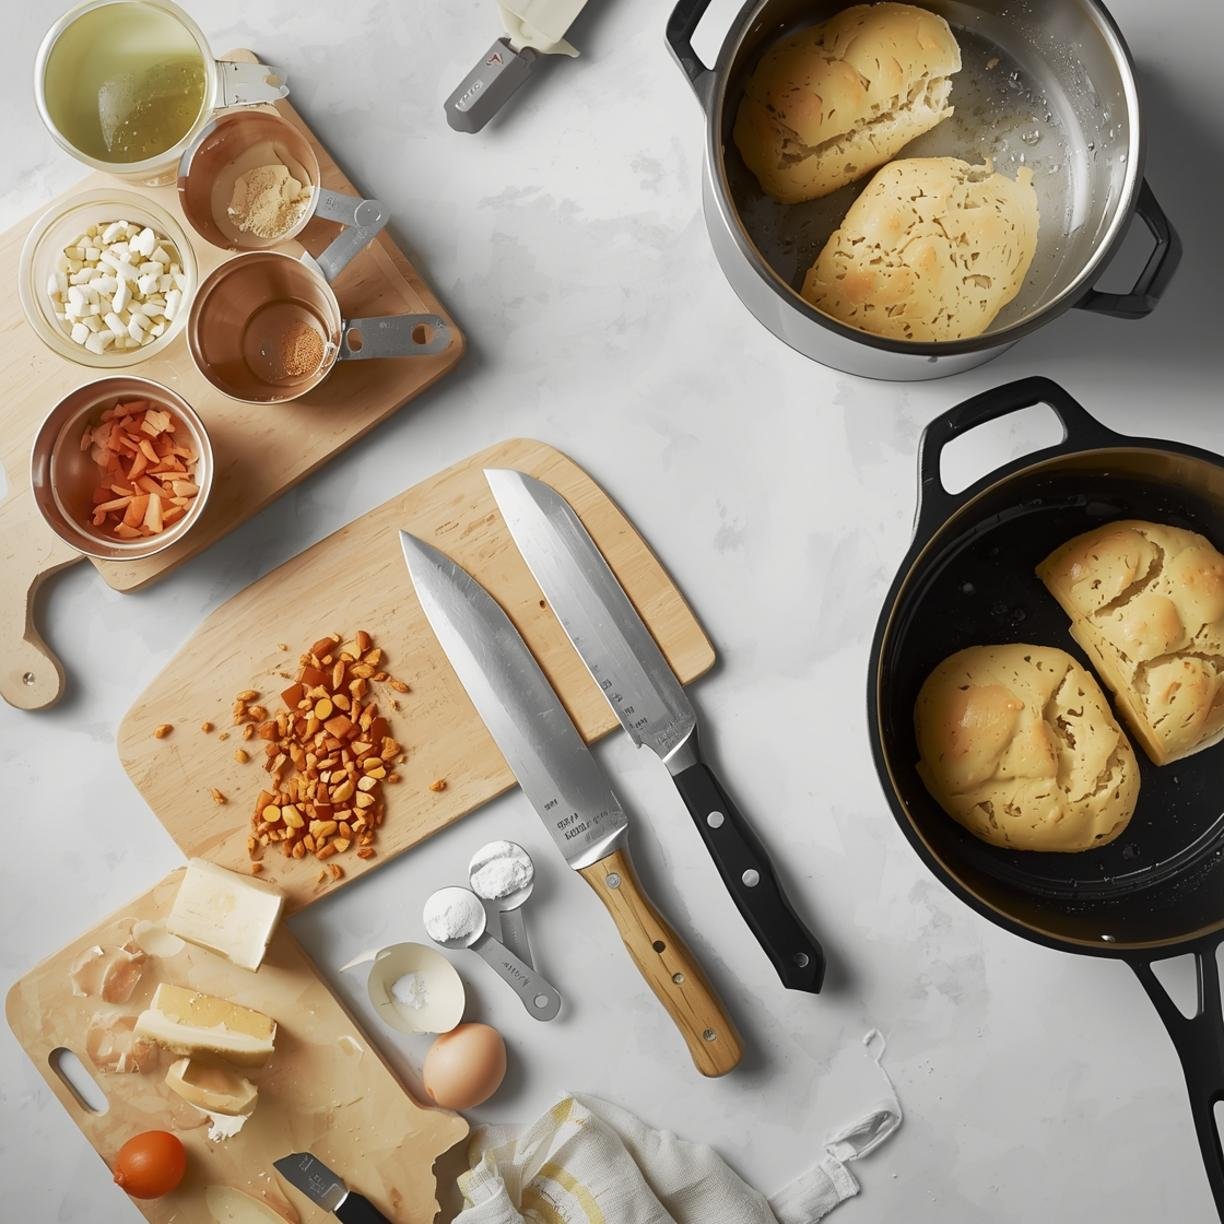
Essential Tools:
– Panasonic bread maker
– Measuring cups and spoons
– Kitchen scale (for precision)
– Rubber spatula
– Oven mitts
Optional ingredients for variations include whole wheat flour, dried fruits, nuts, seeds, or herbs depending on your preference.
Preparation & Cooking Time
– Preparation time: 15 minutes
– Cooking time: 3-4 hours (depending on your Panasonic model and bread type)
– Total time: Approximately 3-4.5 hours
This recipe is extremely beginner-friendly since the bread machine does most of the work. It’s perfect for busy weekdays when you want to set it up in the morning and come home to fresh bread, or for weekend baking when you want delicious results without standing over the oven.
Step-by-Step Instructions
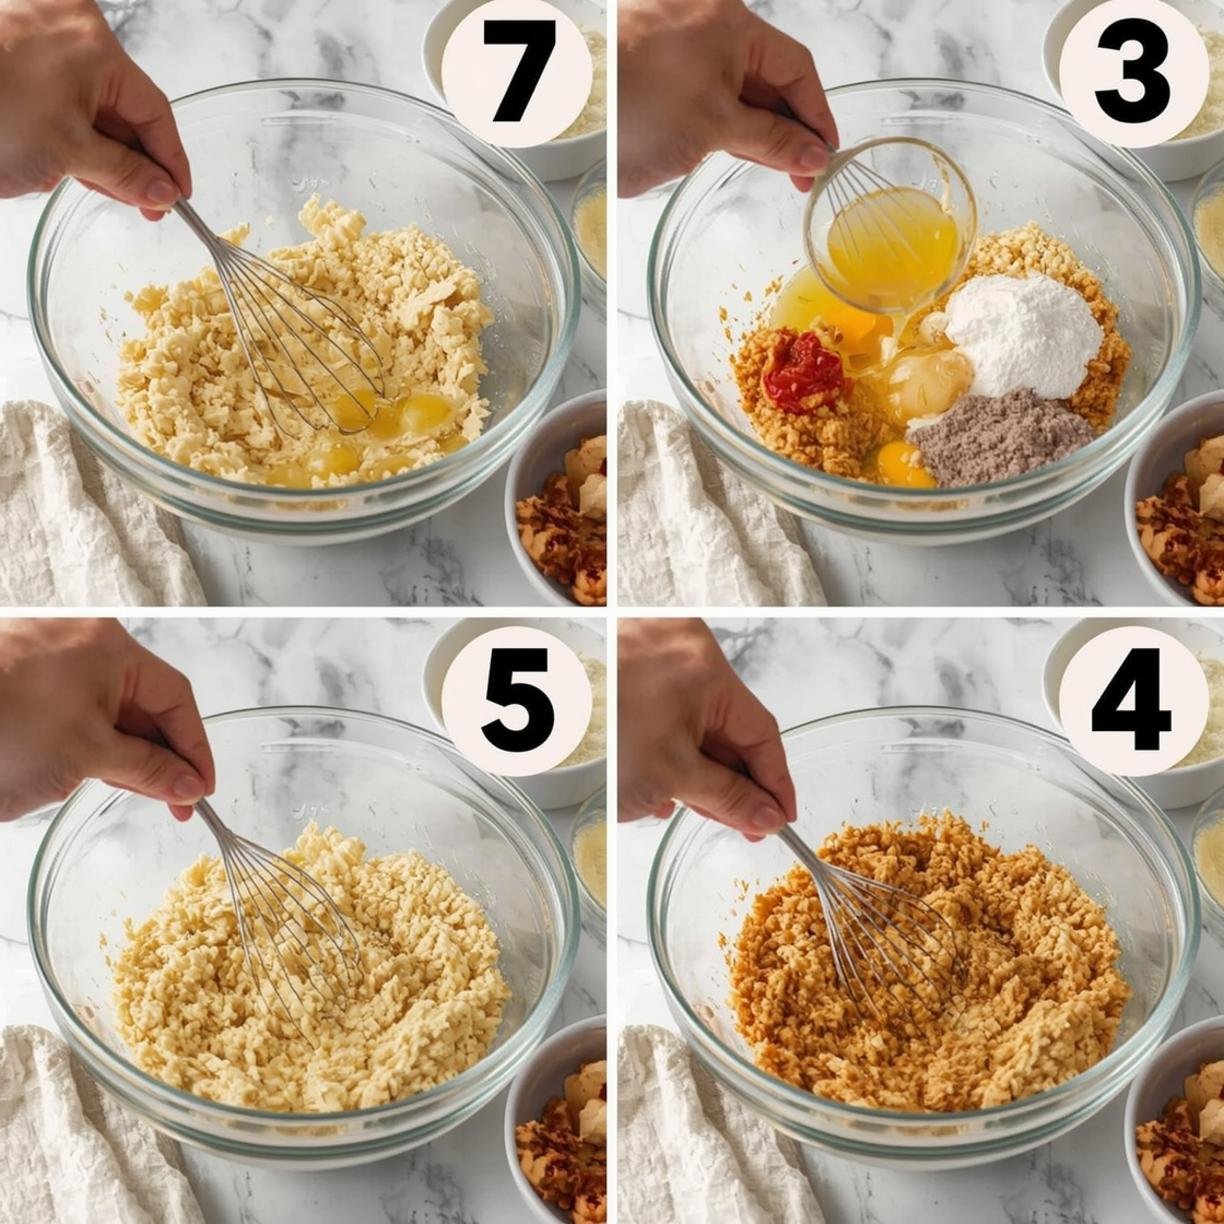
1. Add ingredients in the correct order: Pour warm water into the bread pan, followed by butter, salt, and sugar. This order matters for proper mixing!
2. Add flour carefully: Measure your bread flour accurately and add it to the pan, creating a small well in the center for the yeast.
3. Add yeast last: Place the yeast in the well you created in the flour. This prevents premature activation if using a delayed start function.
4. Select your program: Choose the appropriate setting on your Panasonic bread maker (typically “Basic Bread” for white bread). For a rosemary garlic bread, add 2 tablespoons of fresh chopped rosemary and 3 minced garlic cloves with the dry ingredients.
5. Choose crust color: Select light, medium, or dark according to preference.
6. Start the machine: Press start and let your Panasonic bread bakery recipes work their magic!
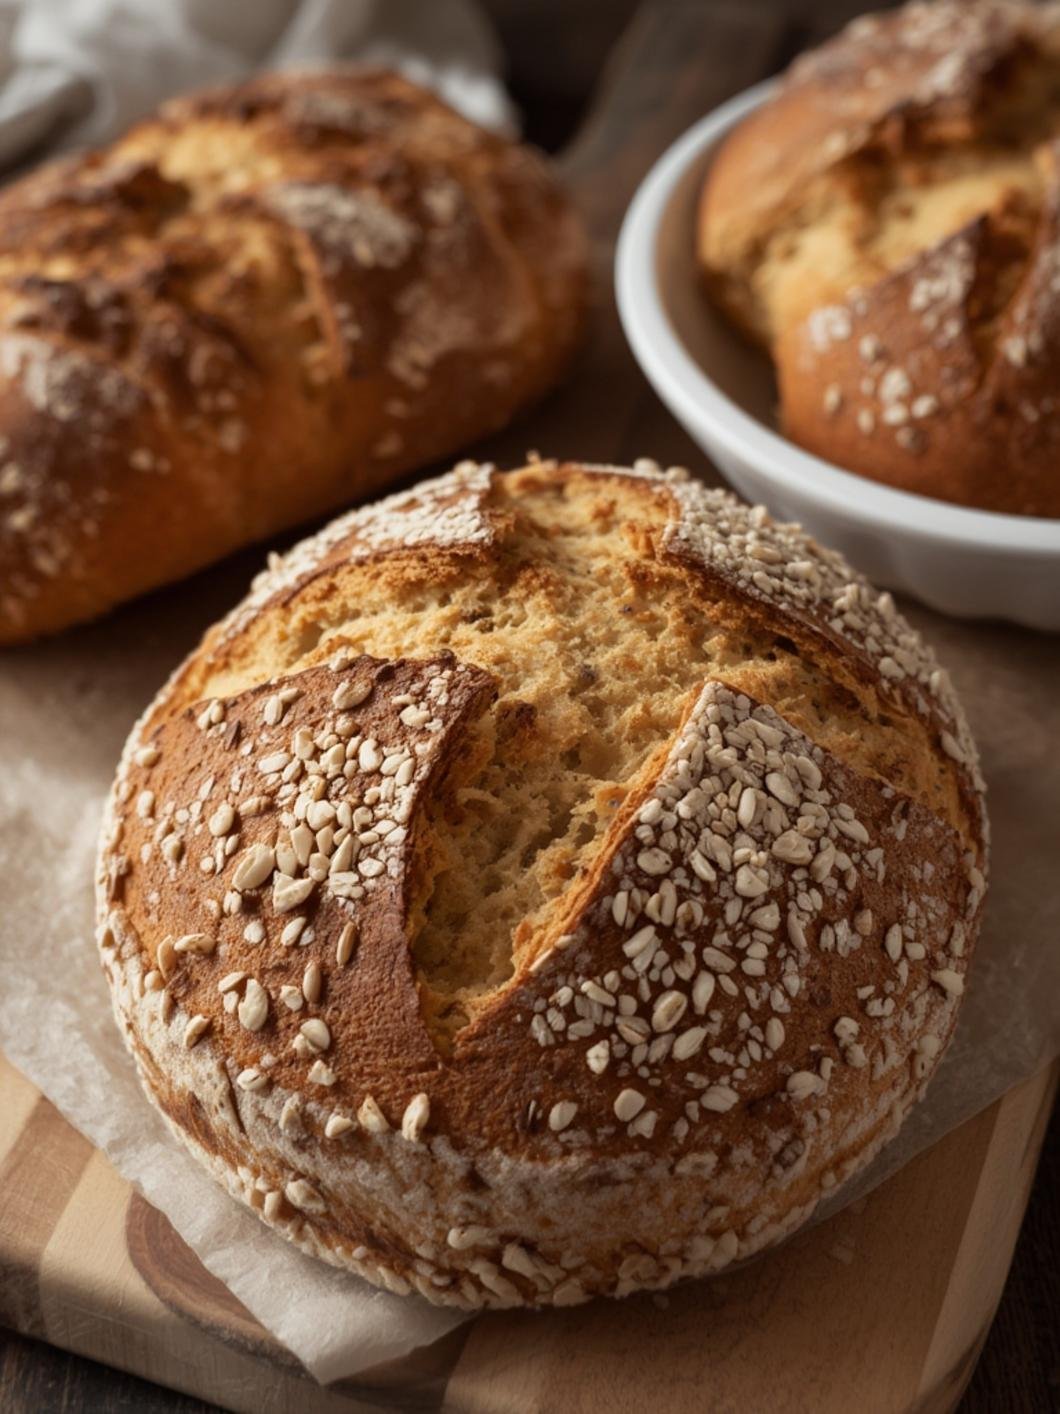
7. Remove and cool: Once baking completes, remove the bread promptly and cool on a wire rack for at least 30 minutes before slicing.
Nutritional Benefits / Advantages
Homemade bread offers significant advantages over store-bought varieties:
– No preservatives or artificial additives
– Control over ingredients (perfect for dietary restrictions)
– Lower sodium content when made at home
– Opportunity to add nutritious ingredients like seeds, nuts, or whole grains
– Freshness that can’t be matched by commercial products
Tips, Variations, or Cooking Advice
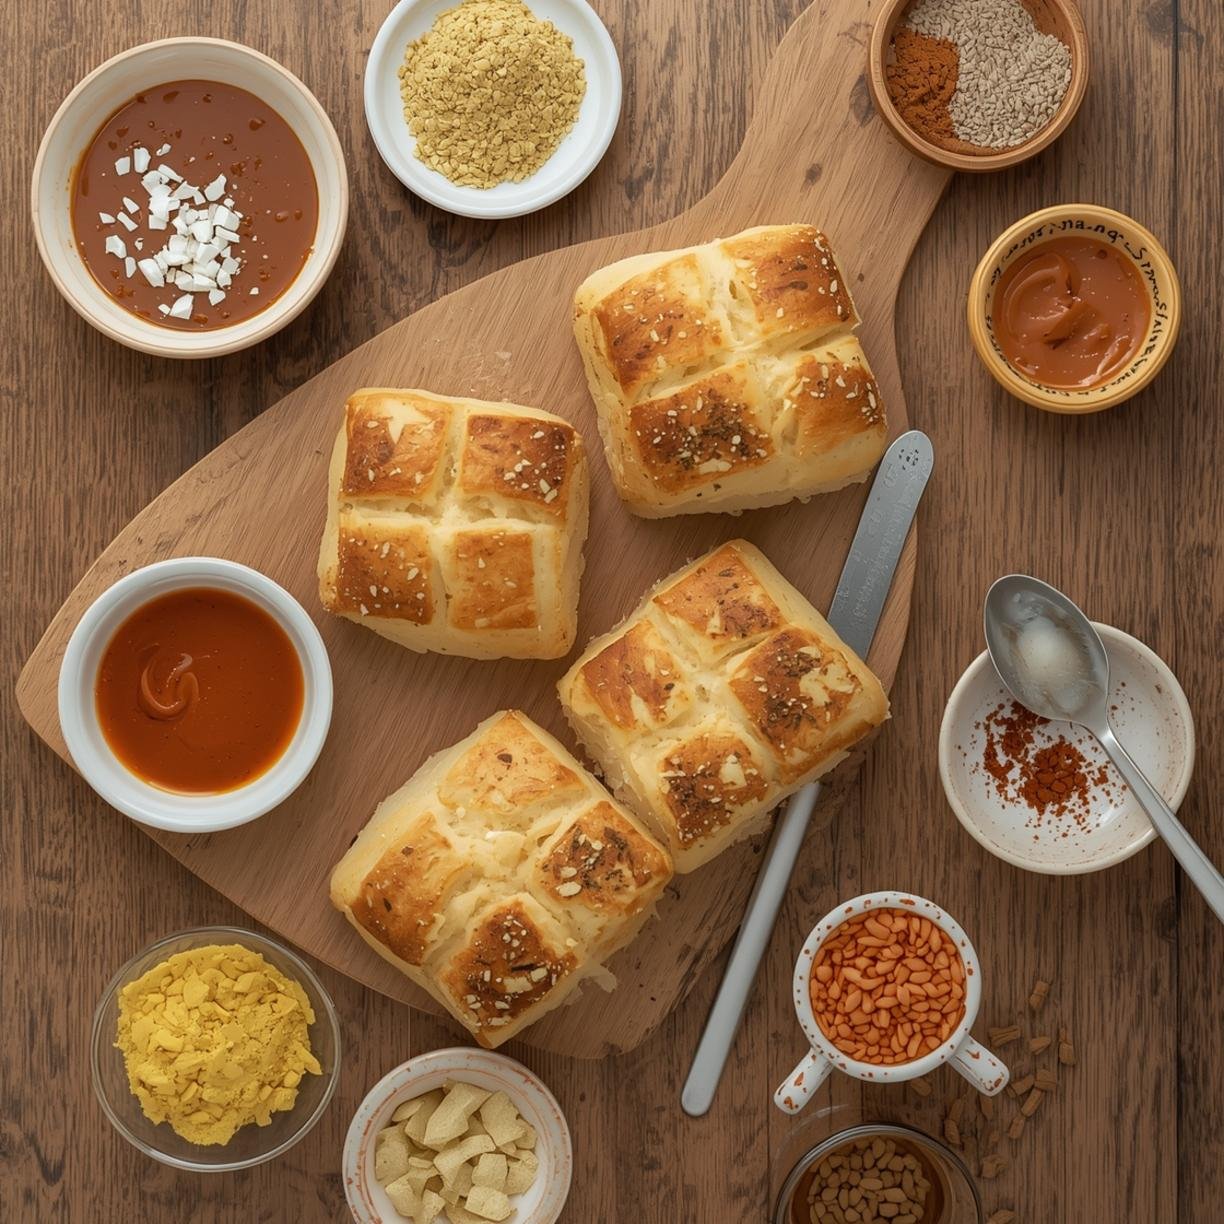
– Whole Wheat Option: Replace half the bread flour with whole wheat flour for added fiber and nutrients
– Sweet Variation: Add 1/2 cup raisins and 1 teaspoon cinnamon for a breakfast bread
– Savory Twist: Incorporate 1/4 cup grated Parmesan and 1 tablespoon Italian herbs
– Gluten-Free Adaptation: Use a gluten-free flour blend and add 1 teaspoon of xanthan gum
– Delayed Start Function: Set your machine the night before for fresh bread in the morning
Common Mistakes to Avoid
1. Inaccurate measurements: Use precise measurements, preferably weighing ingredients for best results
2. Wrong ingredient temperature: Ensure water is warm (not hot) and other ingredients are at room temperature
3. Poor yeast handling: Keep yeast separate from salt and use fresh, properly stored yeast
4. Opening the lid during baking: This disrupts the temperature and can collapse your loaf
5. Removing bread too late: Extract bread promptly after baking to prevent a soggy bottom
Storage & Reheating Tips
Store your homemade bread in a bread box or paper bag for 2-3 days at room temperature. For longer storage, slice the cooled bread and freeze in an airtight container for up to 3 months. Thaw slices as needed and toast for the best texture. To refresh a whole loaf, sprinkle with water and heat in a 350°F oven for 5-10 minutes.
Conclusion
With these Panasonic bread bakery recipes, you’re well-equipped to create delicious homemade bread that rivals any bakery. The beauty of bread machine baking lies in its simplicity and consistency—you get professional results with minimal hands-on time. Whether you’re baking a basic loaf or experimenting with a flavorful rosemary garlic bread, your Panasonic bread maker is the perfect kitchen assistant. Why not try a loaf this weekend and experience the joy of freshly baked bread at home?
FAQs
Can I use all-purpose flour instead of bread flour?
Yes, though bread flour produces better structure due to higher protein content. If using all-purpose, reduce water by 1-2 tablespoons.
Why didn’t my bread rise properly?
This usually indicates old yeast or incorrect water temperature. Ensure your yeast is fresh and water is warm (110°F) but not hot.
Can I add ingredients after the cycle starts?
Some Panasonic models have a “mix-in” beep signal for adding nuts or fruits. Check your specific model’s manual for this feature.
How do I get a crispier crust?
Select the “dark crust” setting on your machine, or for extra crispiness, remove bread 5 minutes before the baking cycle ends and finish in a conventional oven at 350°F.
Can I make dough for pizza or rolls in my bread maker?
Absolutely! Use the “dough” setting to mix and prove the dough, then shape by hand and bake in a conventional oven.